Franklin, WI and nearby

Tell us about the door

A few details are enough to get started. We'll follow up to confirm what you need and when we can come out.

We use these details only to reply to your request.

Sections

Garage Door Section Replacement in Franklin

If one section of your door is creased, rusted through or torn, and the rest is sound, you may only need that one piece. The catch is finding a match.

(000) 000-0000
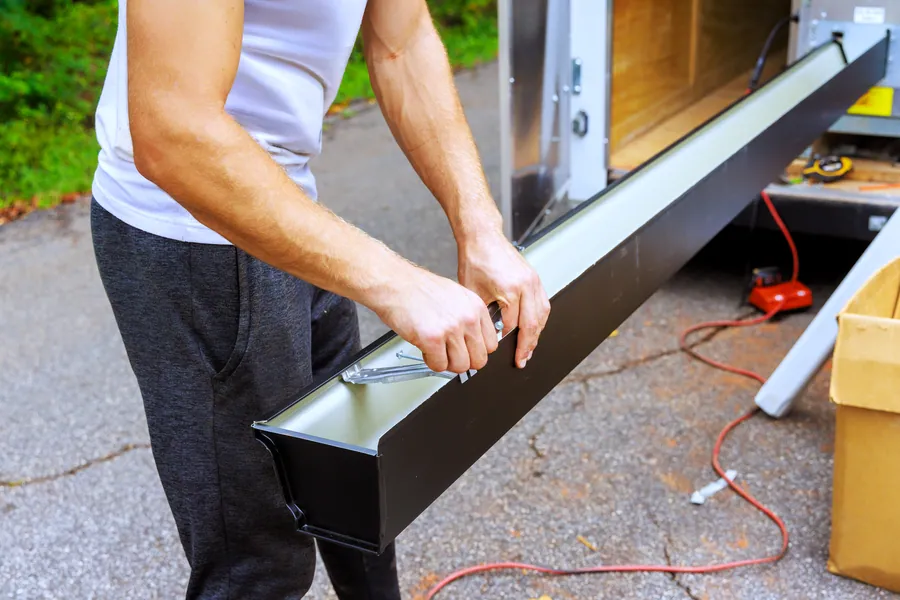
Worker handling a long steel door component beside a job site
Needs
Door make, model and color
Most replaced
Bottom and top sections
After the swap
Springs rebalanced

When replacing one section is the right move

Section replacement sits between a repair and a new door. It makes sense when three things are true.

The damage is confined. One section, occasionally two, with the others straight and rust-free.

The door has life left. If the door is fifteen years into a twenty-year life, putting a new section on it is still reasonable. If the remaining sections are fatigued at the hinges, a new section is throwing good money after bad.

A match is available. This is the one people don’t expect. More on it below.

If the damage is a shallow dent or a section that has begun to bow, it may not need replacing at all. Our panel repair page covers what can be fixed in place.

The matching problem

Garage door sections aren’t interchangeable between manufacturers, and often not between product lines from the same manufacturer. To order a section that fits and looks right, we need to pin down several things.

  • Manufacturer and model Usually on a sticker on the inside edge of a section or on the end stile. If the sticker is gone, we identify the door from its construction.
  • Size Width of the door and the height of the individual section. Sections commonly come in 18, 21, and 24 inch heights, and doors mix them.
  • Position Bottom, intermediate, and top sections are built differently. The bottom has a retainer for the seal. The top has provisions for the opener.
  • Panel design Short raised, long raised, flush, recessed, carriage house overlay, and so on.
  • Thickness and insulation A 1-3/8 inch section won’t join to a 2 inch one.
  • Color and texture Including whether the steel is smooth or wood-grain embossed.
  • Joint profile The tongue-and-groove shape where sections meet. Pinch-resistant joints differ from older flat ones.

If the model has been discontinued, an exact match may not exist. Sometimes a later model from the same maker shares the joint profile and comes close on looks. Sometimes nothing does. We’ll find out before you commit to anything.

About color

Even with a perfect model match, a new section in a factory color sits next to steel that has had years of sun. White doors blend best. Darker colors and wood tones show more difference. The gap narrows over a season or two as the new finish weathers, and on a bottom section it’s rarely noticed. If an exact appearance matters to you, painting the whole door after the swap is an option on most steel doors.
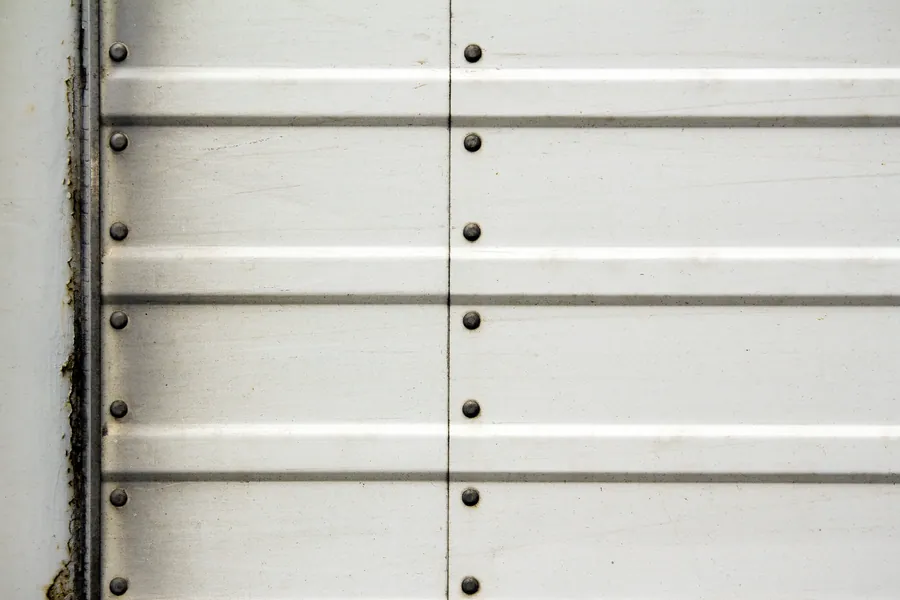
Close-up of white steel door sections showing rivets and section joints
Reference photo: close-up of white steel door sections showing rivets and section joints.

Which sections fail, and why

The bottom section

By a wide margin, the most replaced section in Wisconsin. It sits in the splash zone for road salt, rests on a wet floor, and gets bumped by everything that rolls in and out. Rust starts along the bottom rail, behind the seal retainer where you can’t see it.

A failing bottom section is a safety matter as well as an eyesore. The cable brackets bolt to its lower corners, and those brackets carry the full spring tension. Thin, rusted steel around a bottom bracket is something we take seriously.

The top section

The opener arm attaches here. A top section without proper reinforcement flexes a little every cycle, and eventually the steel cracks or tears around the bracket. A door that’s out of balance speeds this up, because the opener is pushing much harder than it should.

Intermediate sections

These usually go because of impact: a car, a mower, a ladder that fell. Less often, hinge stiles crack from fatigue.

How the replacement is done

  1. Identify and order. We record the door’s details and photos on the first visit and confirm the match with the supplier.
  2. Secure the door and release tension. The springs are unwound or the door is clamped, depending on which section is coming out. For a bottom section, the springs must be fully unwound, because the cables come off.
  3. Remove hardware. Hinges, rollers, and any struts on the damaged section are unbolted. The door is supported so sections above can’t drop.
  4. Swap the section. The old one slides out. The new one is set into the joint, aligned, and fastened.
  5. Fit new hinges and rollers. We don’t put worn hardware on a new section. Struts are reused if straight or replaced if not.
  6. Reattach cables and brackets. On a bottom section, new bottom brackets and often new cables go on too.
  7. Rebalance. A new section seldom weighs exactly what the old one did, particularly if the old one was waterlogged or rusted thin. Spring tension is adjusted until the door holds at any height.
  8. Reset the opener. Travel limits are checked against the new section and the safety reverse is tested.

A middle section is usually a quick swap once the part arrives. A bottom section takes longer because the counterbalance has to come apart.
Before and after

A crushed bottom section and a door with straight, intact sections

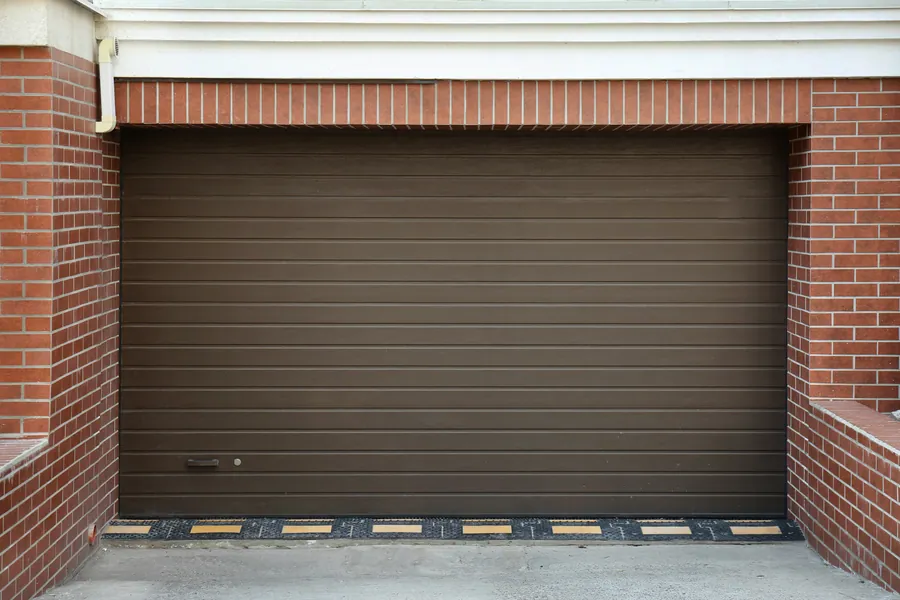
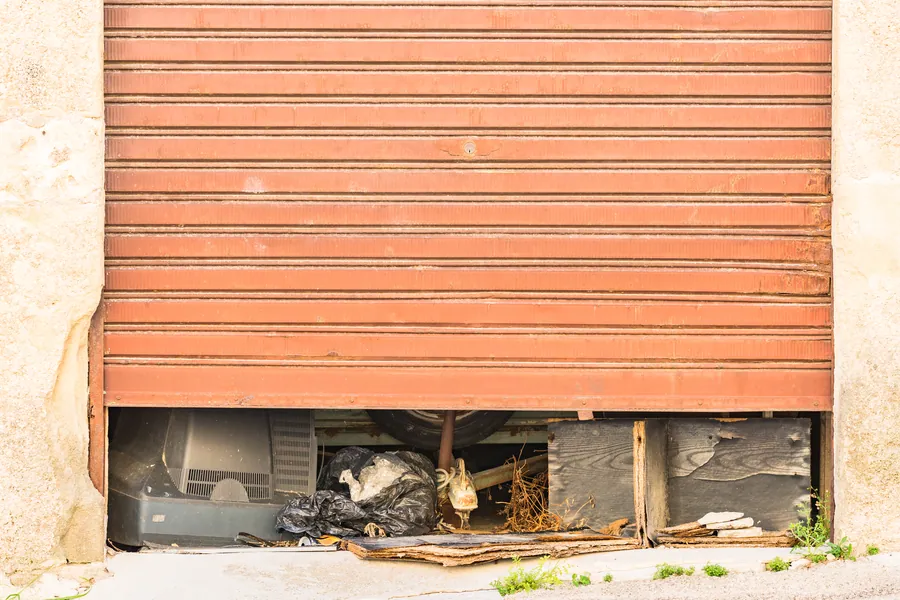
The before photo shows a door whose bottom section has been crushed and torn open, leaving a gap at the floor. Damage like this usually comes from an impact or from forcing a door that was frozen or jammed. The door can’t seal, it can’t be secured, and the steel that carries the bottom hardware is gone.

The after photo shows a sectional door with every section straight and the bottom edge sitting flat. In a job like this the springs are unwound, the cables are removed, and the damaged section slides out so a matched new one can go in with new brackets, rollers, and seal. Once the springs are rebalanced, the door closes tight to the floor again and the cable brackets have solid steel to bolt to.

After: Brown sectional garage door with straight, intact sections in a brick opening
Before: Roll-up door with a crushed and torn bottom section
Before After
Illustrative comparison using licensed stock photography. It shows the kind of change this service makes and is not a documented customer project.

What it costs compared with a new door

We can’t quote a figure without knowing the door, but we can explain the math we use.

A single section, fitted, generally runs a fraction of the cost of a whole door. Two sections cost about twice that. By the time a door needs three, you’re usually close enough to the price of a new door, with new track, springs, hardware, and seals included, that replacement is the better buy.

Age shifts the calculation. A new section on a six-year-old door is an easy yes. On a twenty-five-year-old door with the original springs and rattling rollers, it’s harder to justify. We’ll give you both numbers. If a full door makes more sense, our garage door replacement page explains that process.

Making the new section last

Most of the sections we replace in Franklin are bottom sections lost to salt, so a few habits are worth passing on.

Rinse the lower part of the door, inside and out, a few times over the winter and once thoroughly in spring. A bucket of water does it. The goal is to get salt off the steel and out of the seam where the seal retainer meets the section.

Keep the slab at the threshold clear. Slush that piles against the door holds salt water on the bottom rail for days.

Check the bottom seal each fall. A torn or flattened seal lets water wick up behind the retainer. New rubber is cheap.

Touch up chips. A dab of matching paint on bare steel stops rust from starting.

And if the door ever refuses to move on a freezing morning, don’t hit the button again. A seal that’s frozen to the concrete can fold a bottom section. Free it with warm water or a plastic scraper, then dry the area.

While the door is apart

Section replacement is a good moment to deal with related wear, since much of the hardware is already off. We look at the cables, which we cover on the cable repair page, along with rollers on neighboring sections, the track where the damaged section rode, and the weatherstripping. If something’s close to failing, it’s cheaper to do it now than on a separate visit. If it’s fine, we leave it alone.

Questions we hear

Section replacement: common questions

Can you replace just one section of any door?

Only if a compatible section is available. For current models it’s routine. For discontinued doors, we check with suppliers before promising anything.

Will the new section match?

The design will match if the model is still made. Color can differ slightly from sun-faded older sections, most noticeably on darker finishes.

How long does it take to get a section?

It depends on the manufacturer and the model. Common sections arrive quickly. Less common colors and sizes take longer. We’ll give you the supplier’s estimate when we order.

Can I use the door while I wait?

Often yes, if the damaged section is still structurally sound enough to travel. If it’s torn, badly creased, or the cable bracket area is compromised, we’ll secure the door and advise leaving it closed.

Do the springs need changing with a new section?

They need adjusting, since the weight changes a little. They only need replacing if they’re worn out, which we’ll check.

Is it worth it on an older door?

Sometimes. We look at the remaining sections, the hardware, and whether more matching parts will be available in the future, then tell you what we think.

Estimates for Franklin and nearby

One bad section? Let's see if we can match it.

Send the form or call, whichever is easier. Tell us what the door is doing and we'll explain what we'd check first, what the likely fixes are, and what happens next.

(000) 000-0000

We use these details only to reply to your request.

Call