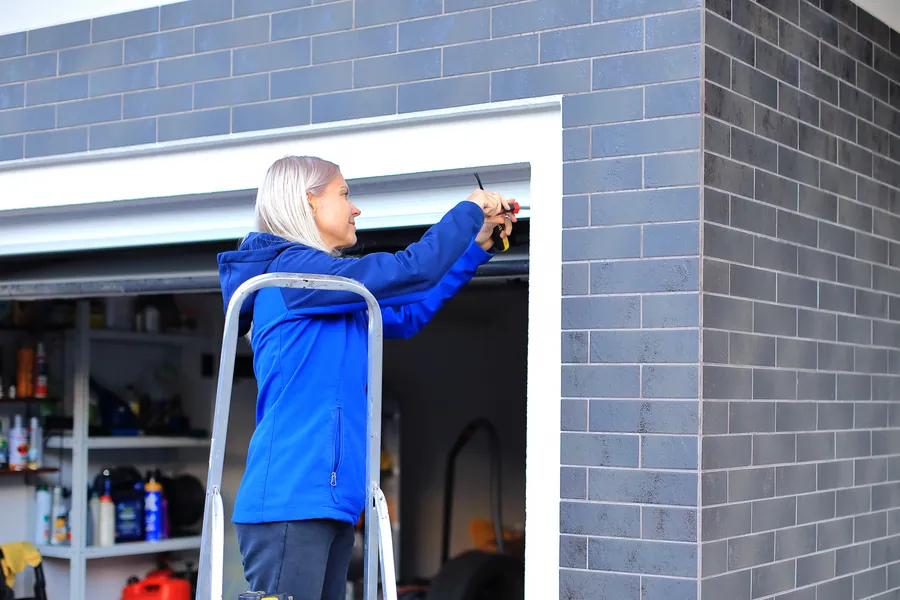
Why bother?
Three reasons, in order of importance.
Safety. The door weighs a couple of hundred pounds and is held up by springs and cables under high tension. An annual look at those parts is how you find a fraying cable before it lets go.
Avoiding breakdowns. Garage doors rarely fail on a convenient day. They fail on the coldest morning of the year with the car inside. Most of those failures were visible months earlier to anyone who looked.
Cost. Rollers, hinges, and a bottle of lubricant are cheap. An opener worn out by a door that’s been out of balance for three years is not.
What we do during a tune-up
This is the full list. On a door in decent shape, it takes under an hour.
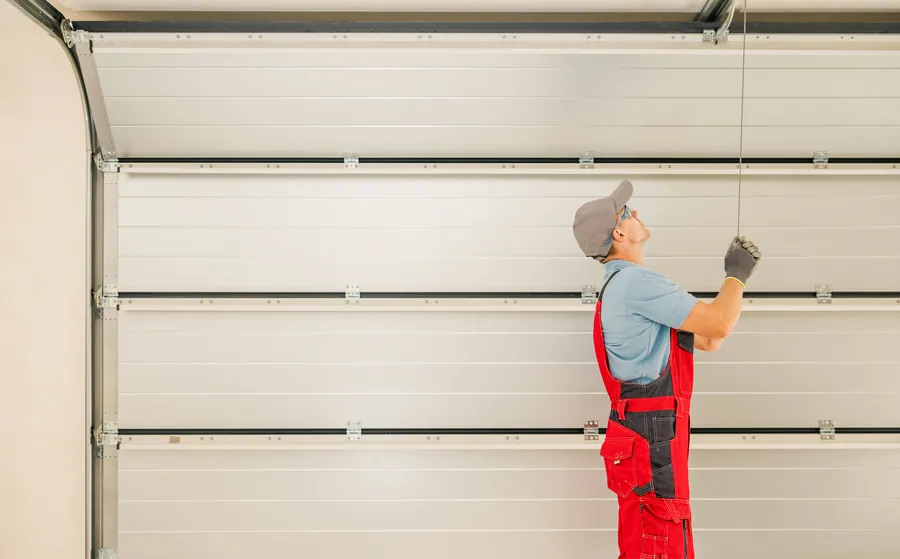
- Balance test. Opener disconnected, door lifted by hand and released at knee, waist, and shoulder height. It should stay put at each.
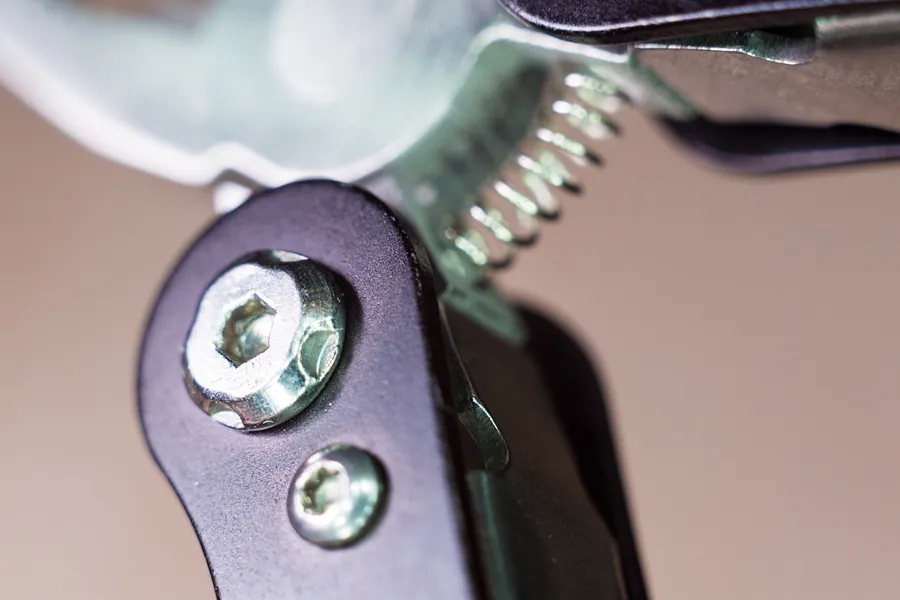
- Spring inspection. We look for rust, gaps, stretched coils, and signs of fatigue, then adjust tension if the balance is off.
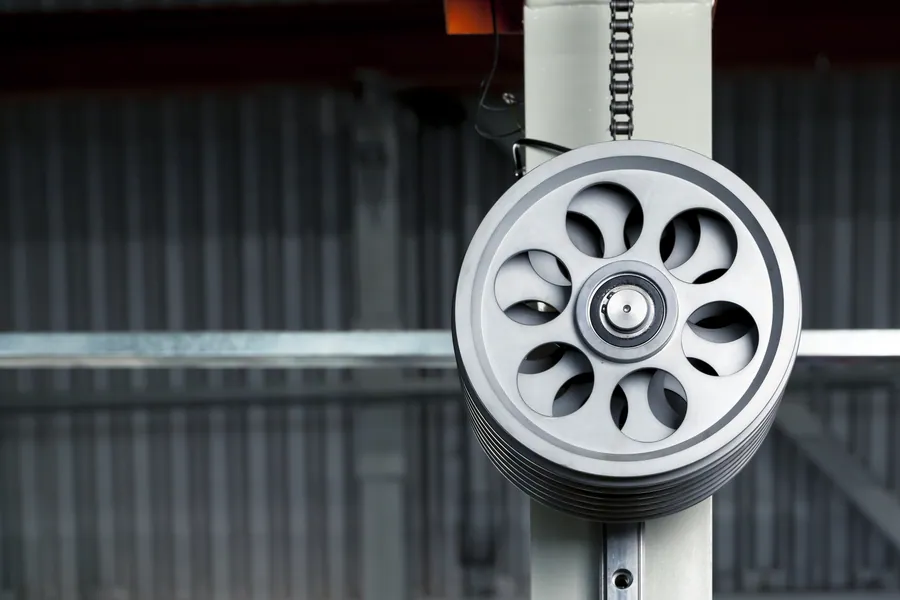
- Cables and drums. Checked for broken strands, rust near the bottom brackets, and proper seating in the drum grooves.
- Rollers. Each one spun and checked for wobble, flat spots, and worn bearings.
- Hinges. Checked for cracks and elongated pin holes. Fasteners snugged.
- Track. Fasteners tightened, alignment checked, debris wiped out. Tracks are left clean and dry, not greased.
- Bearings. End bearings and the center bearing on the spring shaft checked for play and noise.
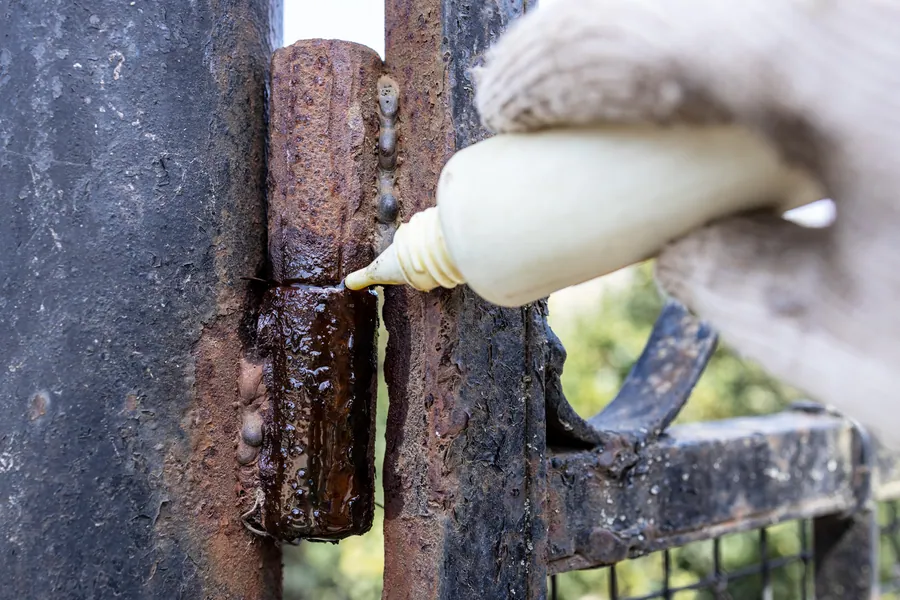
- Lubrication. Garage door lubricant on springs, roller bearings, hinges, and the opener rail where the manufacturer calls for it.
- Struts and sections. Checked for bowing, cracked stiles, and loose fasteners, particularly on the top section where the opener attaches.
- Weather seals. Bottom rubber, retainer, and perimeter stops checked for cracks, gaps, and stiffness.
- Opener settings. Travel limits and force checked and corrected.
- Safety reverse. Photo-eye test and the 2x4 contact-reverse test.
- Remotes and keypad. Tested. Batteries flagged if weak.
At the end, you get a short rundown: what’s fine, what we adjusted, and what’s worth planning for. If a part is near the end of its life, we’ll tell you roughly how long we think it has and what replacing it costs. There’s no obligation to do it on the spot.
What you can do yourself
Between professional visits, a few simple checks keep you informed. None of them involve tools beyond a rag and a spray can.
Monthly: look and listen
Watch the door go up and down once. It should move smoothly, without jerks, and sound the same as it did last month. Look at the cables for fraying and at the springs for gaps or heavy rust.
Every few months: test the reverse
Wave a broom handle through the photo-eye beam as the door closes. The door should stop and go back up. Then lay a piece of 2x4 flat on the floor in the door’s path and close it. The door should touch the wood and reverse. If either test fails, stop using the opener’s close button and call.
Twice a year: lubricate
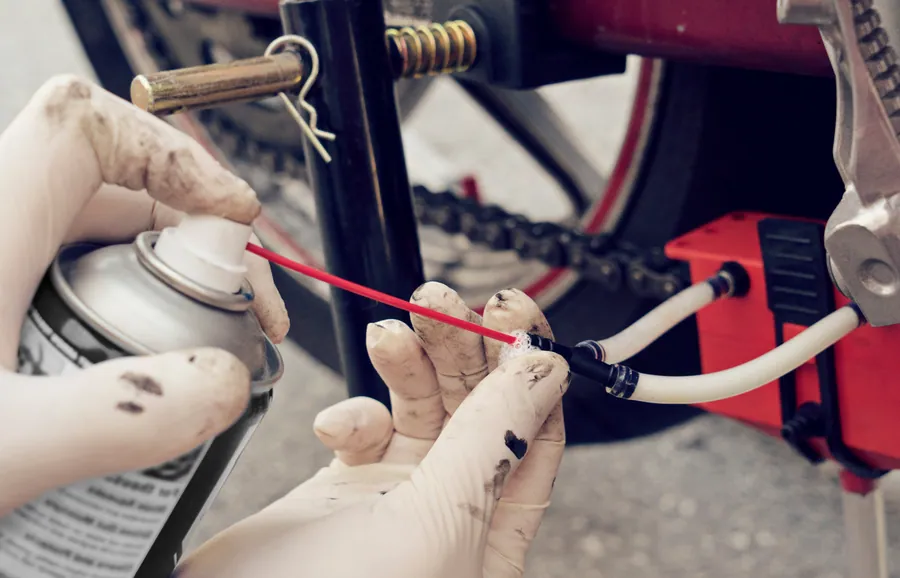
Use a spray made for garage doors, either a silicone or lithium-based product. Standard penetrating oil isn’t a lubricant and evaporates quickly. A short spray on each of these is enough:
- Hinge pivot points
- Roller bearings, where the wheel meets the stem. Skip this on sealed nylon rollers.
- The springs, along the full length of the coils
- The bearing plates at each end of the spring shaft
- The lock mechanism, if your door has one
Wipe off any excess. And don’t lubricate the tracks. Clean them with a dry rag instead.
Twice a year: check the balance
With the door closed, pull the red release cord. Lift the door by hand to about waist height and let go carefully. It should hold, or drift only slightly. If it drops, the springs need adjusting. That’s our job, not yours, but now you know to call.
Each fall: look at the seals
Close the door and look for daylight along the bottom and sides. Feel the bottom rubber. If it’s hard, cracked, or flattened, it’s due.