Franklin, WI and nearby

Tell us about the door

A few details are enough to get started. We'll follow up to confirm what you need and when we can come out.

We use these details only to reply to your request.

Openers

Garage Door Opener Installation in Franklin

Picking an opener comes down to three questions: how quiet does it need to be, how heavy is the door, and what do you want it to do besides open and close?

(000) 000-0000
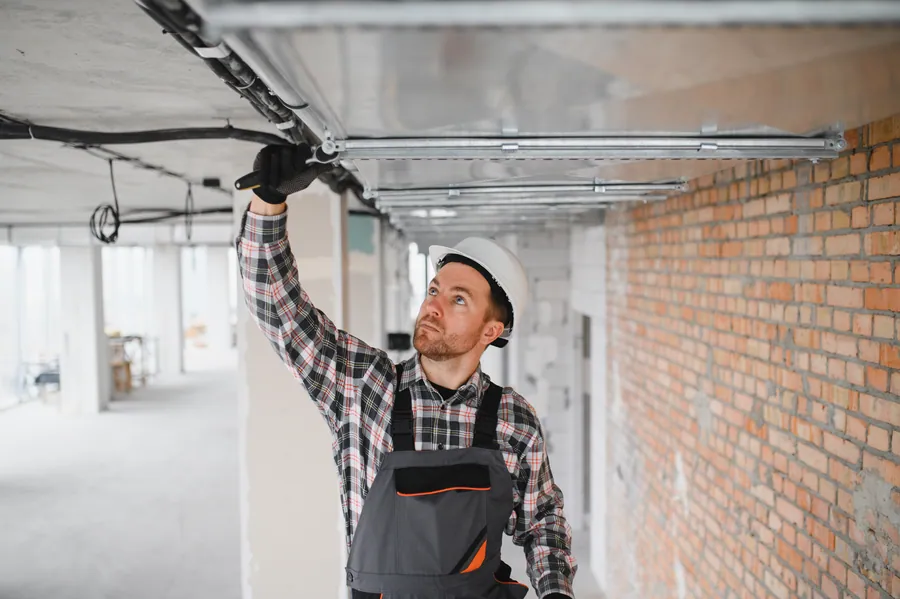
Technician in a hard hat working on ceiling-mounted hardware in a garage
Quietest choice
Belt drive or wall-mount
Worth having
Battery backup
Install time
Two to three hours

The four drive types, side by side

Every residential opener does the same job. The difference is in how it moves the door, which decides how it sounds and what it suits.

Drive type How it works Noise Good fit for
Chain A metal chain pulls a trolley along a rail Loudest Detached garages, heavy doors, tight budgets
Belt A reinforced rubber belt replaces the chain Quiet Attached garages, rooms above or beside the garage
Screw A threaded rod turns to move the trolley Moderate Less common now. Fewer moving parts, but less happy in big temperature swings.
Wall-mount (jackshaft) Mounts beside the door and turns the spring shaft directly Very quiet High or sloped ceilings, storage overhead, low clearance above the door

For most attached garages in Franklin, we end up recommending a belt drive with a DC motor. It’s quiet enough that someone sleeping above the garage won’t be woken by an early departure, and it starts and stops gently, which is easier on the door.

Chain drives still have their place. If the garage is detached and nobody’s bedroom is nearby, a chain drive does the job for less money and tolerates neglect.

Wall-mount openers solve specific problems. If you want the ceiling clear for a car lift, kayak racks, or storage, or the ceiling is too high or too awkward for a rail, a jackshaft unit beside the door is the answer. They need a torsion spring system and a bit of clear wall next to the door.

How much power do you need?

Less than the box suggests. A balanced door is light, so the opener isn’t lifting 180 pounds. It’s managing momentum and friction.

As a rough guide:

  • Single doors and light double doors: a 1/2 horsepower unit, or its DC equivalent, is plenty
  • Insulated double doors: 3/4 horsepower gives a comfortable margin
  • Oversized, wood, or carriage house doors: 1 horsepower or more

Buying extra power doesn’t make up for a door that’s out of balance. If the springs are weak, any opener will struggle, and a stronger one will simply hide the problem until something breaks.
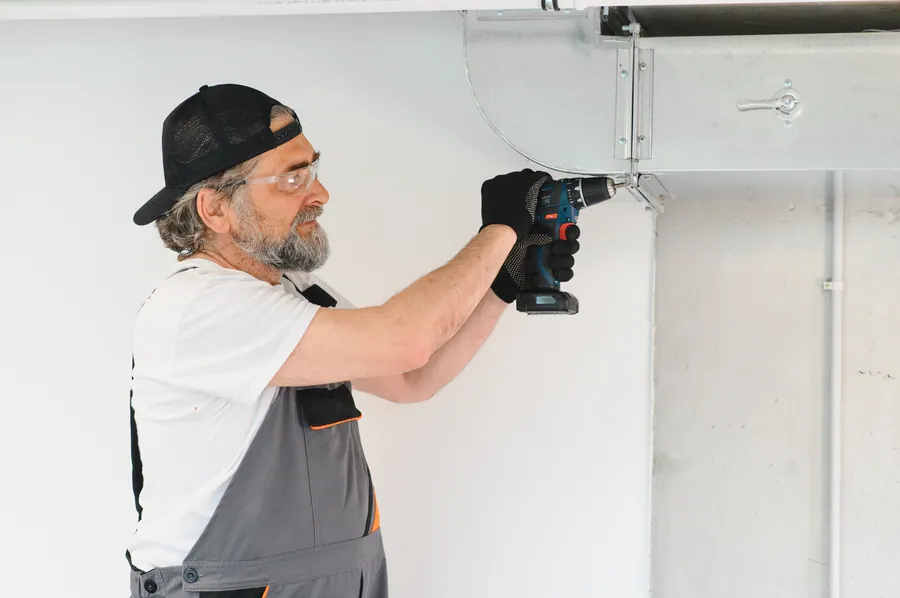
Installer drilling into a ceiling to mount hardware
Reference photo: installer drilling into a ceiling to mount hardware.

Features worth paying for, and a few that aren’t

Battery backup. When an ice storm takes out the power, the opener keeps working for a number of cycles. In our climate this one earns its keep.

Phone control. Open, close, and check the door from anywhere. The real use case is the “did I close the garage?” moment halfway to work. It also lets you open the door for a delivery or a neighbor.

Soft start and stop. DC motors ramp up and slow down instead of jerking. Quieter, and kinder to the top section of the door.

LED lighting. Built-in LED panels light the whole garage and don’t interfere with remote range the way some screw-in LED bulbs can.

Automatic lock. Some units add a deadbolt that engages when the door closes. Nice to have if the garage holds expensive tools.

Built-in camera. Useful for some households, unnecessary for others. If you already have cameras, skip it.

Keypad. We’d call this essential if you have kids, or if you’ve ever been locked out. It mounts outside on the door frame and opens the door with a code.

What you can skip: the highest horsepower rating on a standard door, and extended rail kits unless your door is taller than seven feet.

What we check before installing anything

An opener is only as good as the door it’s attached to. Before the new unit comes out of the box, we:

  • Lift the door by hand to test balance and feel for binding
  • Look over springs, cables, rollers, and hinges
  • Confirm there’s a reinforcing bracket or strut on the top section where the arm attaches
  • Check the header for solid framing to take the rail bracket
  • Find a proper outlet. Extension cords aren’t an acceptable permanent supply for an opener.
  • Measure door height so the rail is the right length

If the door needs work first, we’ll say so. Hanging a new opener on a door with a failing spring just transfers the problem. Our garage door repair page covers that side.
Before and after

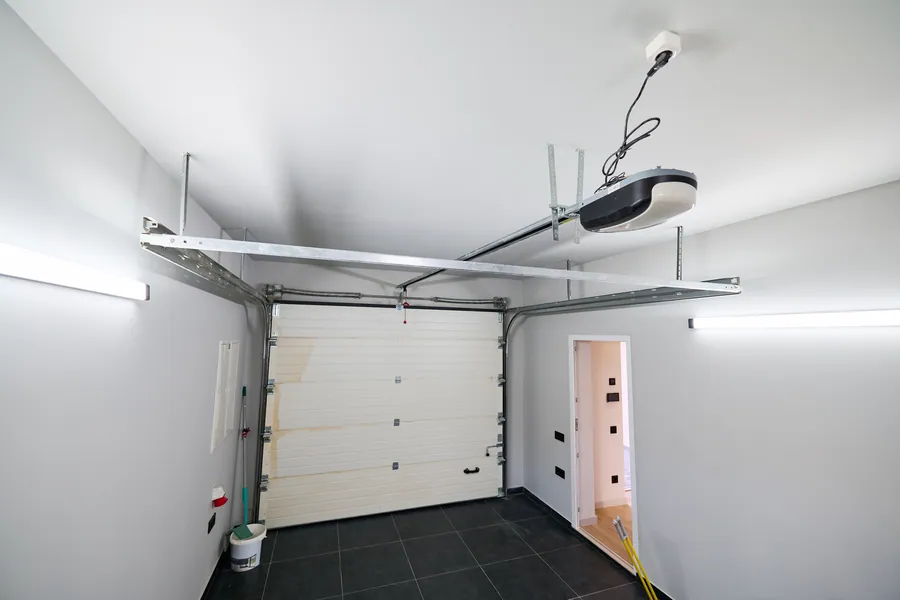
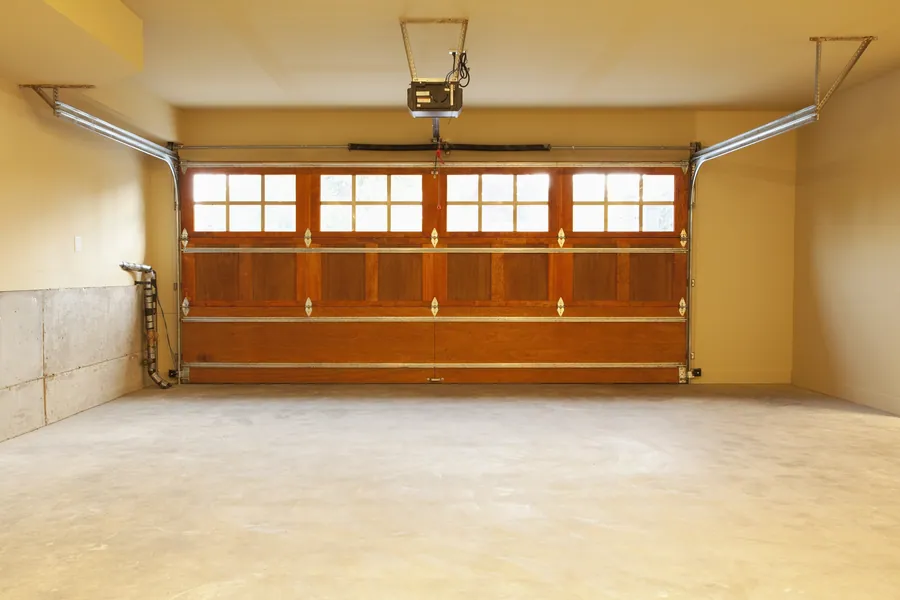
An old chain-drive unit replaced by a modern, quiet opener

Slide toward the before side and you’ll find the sort of opener many Franklin garages still have: a dated ceiling unit above a wood door in a dim garage. They’re sturdy machines, but they’re loud, they lack battery backup, and parts for the oldest ones are getting scarce.

Slide the other way and you’ll find a modern opener mounted square to the ceiling with tidy wiring and a clean rail. In an installation like this, the old unit comes down, the door is checked for balance, and the new motor, rail, sensors, and wall control go up as a matched system. The difference you’ll notice first is the sound. The second is being able to check the door from your phone.

After: Bright garage interior with a modern opener and rail above a white door
Before: Older garage interior with a wood door and a dated ceiling opener
Before After
Illustrative comparison using licensed stock photography. It shows the kind of change this service makes and is not a documented customer project.

Installation, step by step

  1. Remove the old unit. Rail, motor, brackets, sensors, and wiring come down. We take it with us.
  2. Assemble and mount the rail. The header bracket goes into framing above the door, centered on the door’s width.
  3. Hang the motor. Braced to ceiling joists with perforated angle iron so it can’t sway or vibrate. No chains, no wire.
  4. Attach the arm. Connected to the reinforced top section at the right angle so it pushes the door closed firmly without bowing it.
  5. Mount and wire the sensors. Photo-eyes are set no higher than six inches off the floor, with the wire stapled neatly out of harm’s way.
  6. Install the wall control and keypad. Wall control at least five feet up, out of young children’s reach.
  7. Set travel and force. The door should close fully against the seal without the opener straining, and open fully without slamming the stop.
  8. Test the safety systems. Beam test and the 2x4 reversal test, every time.
  9. Program everything. Remotes, keypad, car buttons, and the phone app if you’re using one.
  10. Show you around. How the release cord works, what the lights mean, and how to test the reverse yourself.

Most installations are done in two to three hours. A wall-mount unit or a new outlet adds a little.

Planning for a Wisconsin garage

Cold starts. Openers work harder in January. DC motor units with soft start cope with stiff, cold doors better than older AC designs, and their force sensing adapts more gracefully.

Belts in the cold. Modern steel-reinforced belts handle our winters without trouble. We check tension at install because a belt that’s set on a hot day can be a touch tight when the temperature falls.

Sun on the sensors. On doors facing south or west, low winter sun can blind a photo-eye. We place the receiving eye on the shaded side where we can.

Outages. If you park in the garage and the power goes out, a battery backup means you aren’t lifting the door by hand in the dark. We test the manual release with you either way.

Condensation. Unheated garages get damp when warm, wet cars come in. Sensors and wire connections are kept clear of the drip line.

Reusing parts from the old opener

People ask whether they can keep the old rail, sensors, or wall button. In nearly every case, no. New openers are designed as a system, and the sensors and controls use different signals than older ones. Keeping the old wiring run is sometimes possible if it’s in good shape.

Your old remotes won’t work with the new unit, but most cars with built-in buttons can be programmed to it.

If you’re still deciding between fixing the old one and buying new, the opener repair page has a short guide. And if you’re replacing the door too, see new door installation, since doing both at once saves a visit.

Questions we hear

Opener installation questions

Which opener is quietest?

A belt drive with a DC motor, or a wall-mount unit. Either is a large step down in noise from a chain drive, provided the door itself is in good shape.

Will a new opener fix my noisy door?

Only if the opener was the source. Worn rollers and dry hinges make just as much noise. We check the door first so you aren’t disappointed.

Do I need a new opener when I get a new door?

Not always. If the current one is healthy, has working sensors, and enough power, it can stay.

Can you install an opener I bought myself?

Yes. We’ll confirm it suits the door before we start, and we’ll install it the same way we would our own.

How does battery backup work?

A small battery in the opener charges while the power is on. During an outage, it runs the opener for a limited number of cycles. The battery needs replacing every few years.

Is phone control secure?

Reputable opener apps use encrypted connections and sign-in protection. Use a strong password, turn on two-step verification where offered, and remove access for anyone who no longer needs it.

Estimates for Franklin and nearby

Not sure which opener fits? We'll help you choose.

Send the form or call, whichever is easier. Tell us what the door is doing and we'll explain what we'd check first, what the likely fixes are, and what happens next.

(000) 000-0000

We use these details only to reply to your request.

Call